Add a clipping mask
Any object or group of objects can have a clipping mask applied. The mask ensures only parts of the object are visible. This is often useful for images where you may want to hide the background for example.
Example
In this example, we want to apply a clipping mask to the image of the car.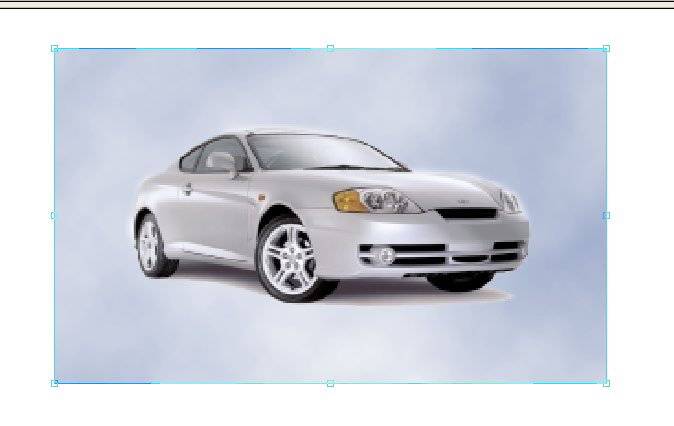
- Choose View > Toolbars > Drawing to view the drawing tools.

- Use the tools to draw a shape – in this example, an oval. This shape will be used to make the clipping mask.
Any path may be used as clipping path, not just those created using the built-in drawing tools.
- With the new shape selected, choose Object > Clipping Mask > Convert To Clip.
The shape will then become a pink outline.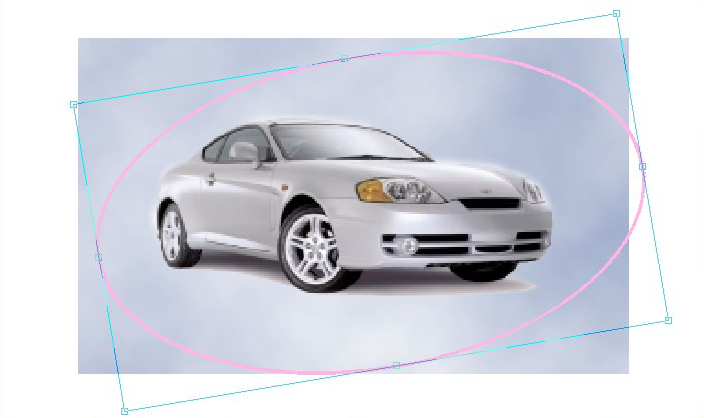
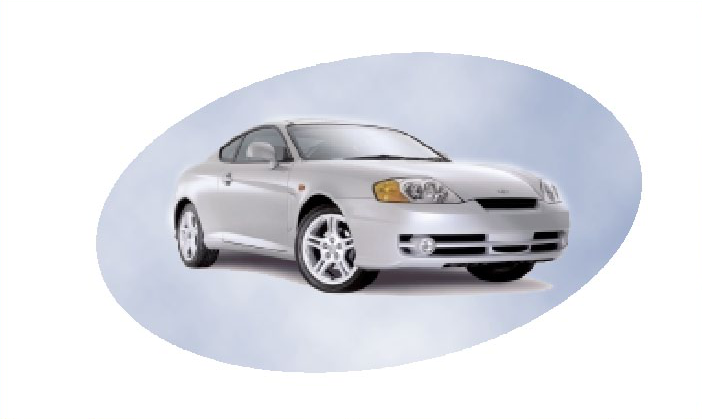
- Select the Object tool
 from the toolbar.
 - Select both the clip path and the image – see Selecting Objects.
- Choose Object > Clipping Mask > Add To Clip.
- The image has now been added to the clipping mask. The parts of the image that are "outside" the mask are not displayed.
Notes
- Any empty clipping masks are automatically removed when a PDF is opened.
- Clip paths have no line width, fill or stroke colour and will only be visible when the Object tool is selected.
- Clip paths can be moved independently of the objects being clipped. To stop them moving independently of each other, group them together. See Grouping.
- To add multiple objects to the clipping path, group them first – see Grouping.